
Charging your phone on a Nepal trek: power banks and solar
How to keep a phone and a camera charged on a Nepal trek: how lodge charging works and why it gets slower and dearer with altitude, how to size a power bank, whether a solar panel is worth carrying, and how to save battery.
You keep a phone charged on a Nepal trek by combining three things: charging in lodges while you are low, carrying a power bank that gets you through the stretches where charging is slow or expensive, and cutting how much power you use. For most teahouse treks, a single power bank per person plus a charged phone in airplane mode is enough; a solar panel is rarely worth its weight. The details change by route and altitude, and the problems are practical rather than technical: sockets that are occupied, electricity that depends on the sun, and prices that rise with every day you walk. This guide uses the route and region data on this site to show what to expect and how to plan for it.
Everest Base Camp Trek의 모집 중인 여행
파트너를 찾는 트레커들이 올린 실제 여행입니다.
How lodge charging actually works
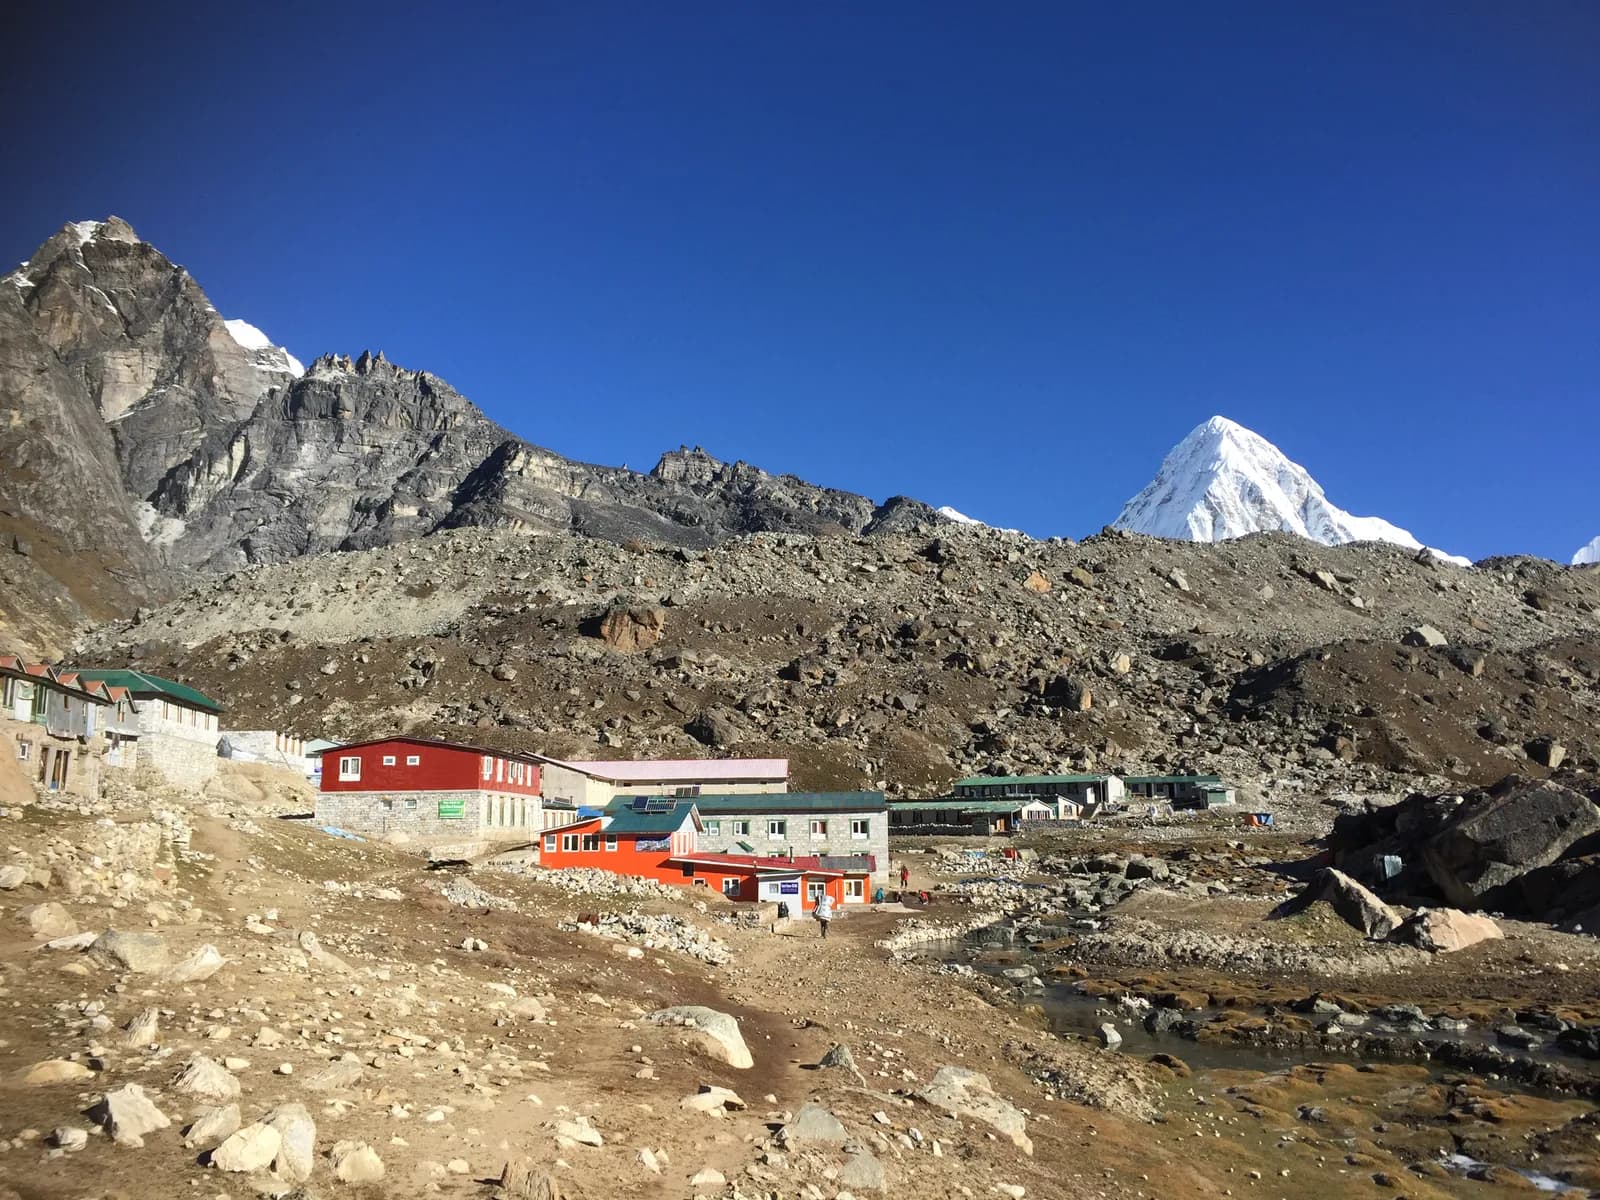
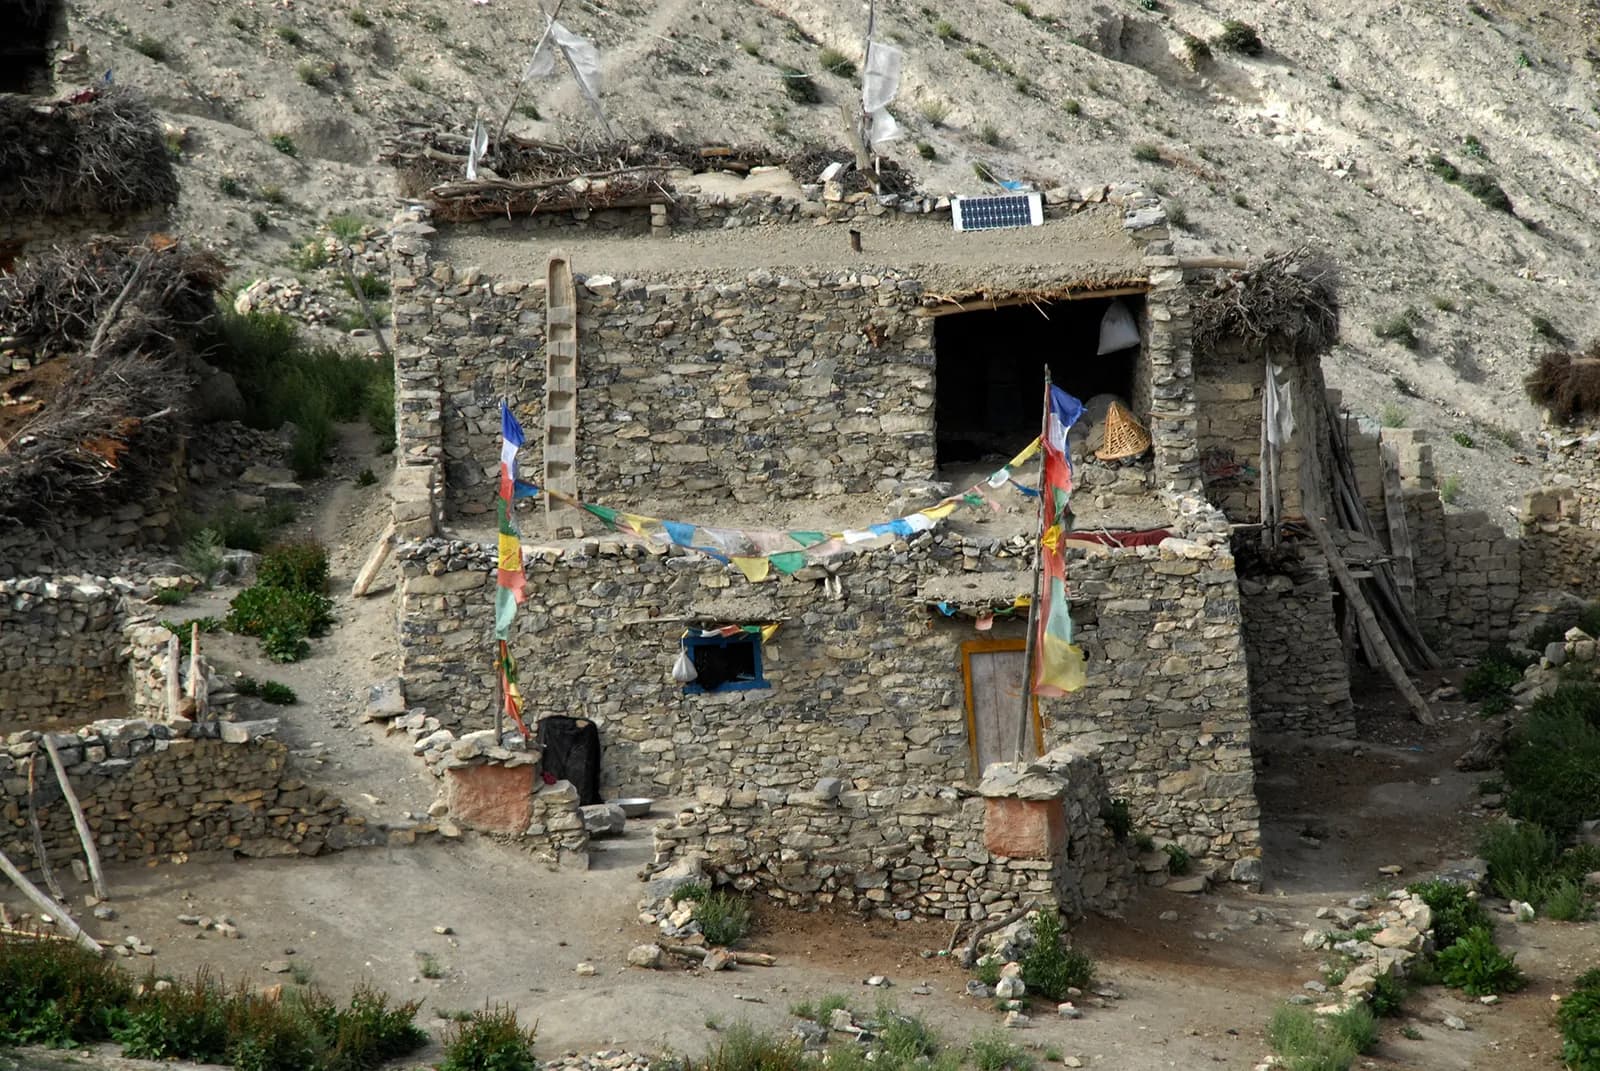
Teahouses are not hotels. Many of them run on solar panels, a small hydro scheme or a generator, and the same system powers lights, the kitchen and every guest's devices. Our region pages say the same thing in different words. On the Everest route, everything above Lukla is carried in by porter, yak or mule, so prices for food, charging, hot showers and Wi-Fi rise with every day you walk, and charging a phone or battery usually costs extra. The Everest Base Camp route page advises you to charge your devices in Namche or Dingboche when you can, because charging is expensive and slow higher up. The Gokyo Lakes page says to charge devices before leaving Namche.
The same picture appears elsewhere. On the Manaslu region page, some lodges sell Wi-Fi by the day, and electricity is limited by solar. On the Upper Mustang page, lodges may sell Wi-Fi by the day and power depends on solar. On the Poon Hill route page, some lodges in Ghorepani and Ghandruk have solar hot showers and charging points for a fee. In other words, nowhere on the trail is charging guaranteed to be free, fast or available at a particular hour. We do not quote prices for charging, because our cost data does not include them; ask when you arrive and compare with the next lodge.
Practical consequences:
- Charge in the afternoon and early evening, when solar systems have the most to give and before the dining room fills up.
- Ask first. The question is simply whether charging is free or paid, and for how long you can leave a device.
- Never leave a device unattended in a public socket you do not trust and label your cables, because identical white cables are easy to pick up by mistake.
- Do not count on a socket in your room. In many lodges the only sockets are in the dining room.
Sizing a power bank
A power bank's capacity is printed on its case in milliamp-hours (mAh) or watt-hours (Wh). Phone batteries are usually a few thousand mAh, so a bank can give a phone several full charges. Rather than quote a magic number, do a simple sum:
- List every device you will charge: phone, watch, headlamp, camera battery, e-reader.
- Estimate the number of full phone charges you need between reliable charging points, and add one more.
- Divide the days: on a route where you pass villages with charging every day, you need less; on a camping route or above the last village, you need more.
On a route such as Poon Hill or Ghandruk, where lodges offer charging for a fee and the walking days are short, a modest power bank will do. On the Manaslu Circuit, the Manaslu region page advises a power bank and a paper map, and on Upper Mustang the same. On Dhaulagiri, the region page says camp charging is limited and to pack a power bank. The longer and more remote the route, the more you want a second bank or a larger one, shared between partners so that the weight is spread.
A few cautions. Buy from a known maker rather than the cheapest option; cheap banks often deliver less than their label claims and some are unsafe. Test your bank at home. Carry it in your hand luggage, because airlines ban loose lithium batteries from checked baggage; the IATA guidance on lithium batteries is linked in the sources, and your airline's own page will give the capacity limit. This also applies to the small planes to Lukla and Jomsom.
Is a solar charger worth it?
Solar chargers are attractive in the abstract and disappointing in practice. They work only when the panel faces strong sun, they output slowly, and they are easily shaded by a pack, a hillside or cloud. On a typical teahouse trek, a panel strapped to your pack will give a phone only a small top-up over a day, even in good weather. The extra weight is better spent on a larger power bank that you charge in the last village.
There are places where panels make more sense. On a camping trek such as Upper Dolpo or Kanchenjunga (see camping trek gear for Kanchenjunga and Dolpo), you have no lodge to charge in, and the days are long and sunny in the dry valleys. Even there, ask your agency what the crew carries for charging before you buy anything. If you want a panel, treat it as a top-up, not a source.
Keeping batteries alive in the cold
Cold reduces battery capacity and can cause a phone to shut down while the display still shows some charge. You cannot change the physics, but you can manage it:
- Keep devices warm. Put your phone and camera battery in an inside pocket by day and in your sleeping bag at night.
- Do not charge a freezing battery. Let it warm first.
- Carry the power bank next to your body for the same reason.
- Use airplane mode when you have no signal. Searching for a network drains a phone quickly, and on most of the high routes there is nothing to find. Mobile signal is patchy in many places: on the Manaslu page, you may find signal in Jagat, Lho and Samagaun, but not along the valley floor; on Kanchenjunga, Ntc and Ncell signals appear in Taplejung, Sekathum and sometimes Ghunsa, but not above Kambachen.
- Lower the screen brightness, turn off background refresh and close apps you do not need.
- Switch the phone off at night rather than leaving it on in a cold room.
Saving power on the trail
The simplest way to avoid a charging problem is to use less power.
- Use offline maps instead of streaming. Our offline maps, GPX and navigation guide explains how to prepare them. Download before you leave the hotel.
- Take photographs rather than video, and carry a spare camera battery if you use a camera; see camera and phone gear for treks.
- Write your day plan on paper and keep a printed copy of your permits and passport so you do not need to open your phone at every checkpoint.
- Use a headlamp, not your phone torch, and carry spare batteries or a rechargeable lamp. Our guide to headlamps and night gear covers it.
- Skip Wi-Fi for long sessions. It is slow and priced by data or time in many lodges, as the Everest page notes, and it drains the phone.
Safety: do not rely on a phone
Several of our region pages repeat the same warning. The Everest page says not to rely on a signal for safety and to tell your lodge or guide where you are going each day. The Manaslu page says to carry a power bank and a paper map and not to rely on a call. The Dhaulagiri page says not to count on a phone signal at the high camps and to ask your agency which satellite messenger or radio the guide carries and to leave your itinerary with someone at home. These are the right habits whatever your battery level. A phone is convenient and a power bank helps it last, but a person who knows where you are is a better safety system.
A simple kit
For a typical trek on a route like Everest Base Camp, a sensible kit is a single power bank per person, a short cable of each type you use, a multi-way plug adapter, a small pouch for cables, a spare camera battery if you shoot with a camera, and a plastic bag for keeping electronics dry. If you are sharing with a partner, agree who carries the shared bank and how you will split charging fees; our guide to what to agree with trekking partners before you book covers money and kit. The Manaslu Circuit and Poon Hill route pages list their own connectivity notes.
Before you leave Kathmandu or Pokhara
Charge everything fully the night before. Test your cables. Download your offline maps, boarding passes and permits. Tell someone at home your plan, and agree a time by which you will message when you are back in range. Then stow your phone and enjoy the walk. The gear and packing hub has the rest of the checklist, and the Everest Base Camp partner page is the place to look if you want someone to share the walk and the cost.