
How to train at home for a Nepal trek: a 12-week plan
A practical 12-week home training plan for a first Nepal teahouse trek, built around hill walking, stairs, a loaded daypack, leg strength, back-to-back long days and a final taper.

To prepare for a Nepal teahouse trek at home, walk or hike hills with a loaded daypack three times a week, climb stairs twice a week, do two short strength sessions and build up to back-to-back long days in the last month. Twelve weeks is a sensible length from a modest base. You do not need a gym or special equipment. This guide gives you a week-by-week plan, explains why stairs and descents matter, shows how to build pack weight and what to do in the last week, and says what training cannot do: protect you from altitude.
Annapurna Base Camp Trek的開放行程
由正在尋找夥伴的健行者發布的真實行程。
What you are training for
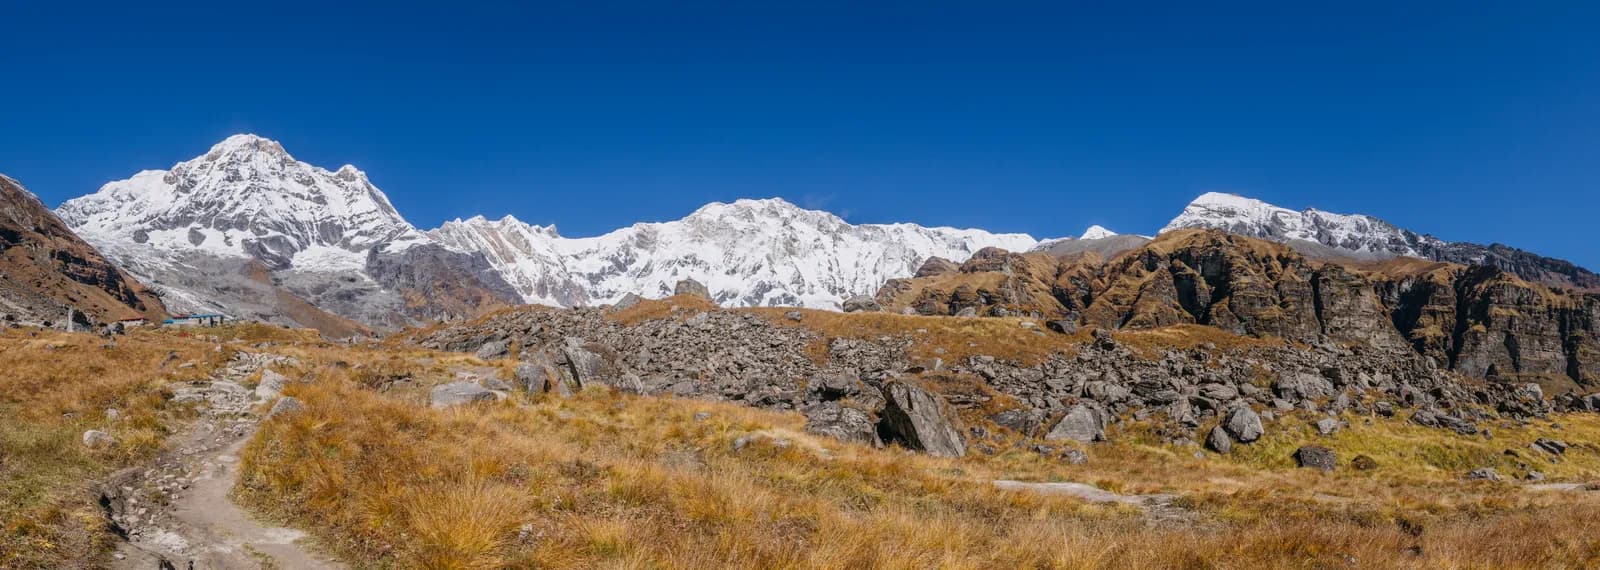
A typical first trek asks you to walk five to seven hours a day for four to twelve days, on stone staircases and rough paths, carrying a light daypack. On the Annapurna Base Camp plan, day 2 from Jhinu Danda to Bamboo is six hours and the descent from base camp is six to seven hours. On the Poon Hill plan, the first two days climb through Ulleri and its long staircase to Ghorepani, and the third day is six hours to Tadapani. The hardest part is repetition: long days in a row, on tired legs, in cold mornings. Your plan should build the legs for stairs and descents, the lungs for sustained effort and the feet for boots.
The ingredients
- Hill or stair walking. The most specific training. Walk uphill and downhill on trails or steep streets.
- A loaded daypack. Train with the weight you will carry, built up gradually.
- Strength. Squats, lunges, step-ups, calf raises and core exercises protect knees and ankles.
- Back-to-back long days. Two long days in a row teach your body to recover and keep going.
- Boots and socks. Break in your boots and test your socks on long walks.
- Rest. Plan one or two easy days a week, and a taper at the end.
A 12-week plan
The plan below assumes you can already walk for an hour and that you are healthy. If you have a medical condition, speak to a doctor first. Adjust it to your life; consistency matters more than perfection.
| Weeks | Walks | Stairs and strength | Long day |
|---|---|---|---|
| 1 to 3 | Three walks of 45 to 60 minutes, include hills | Stairs 15 minutes twice a week; two strength sessions | 90 minutes, no pack |
| 4 to 6 | Three walks of 60 to 75 minutes with a 3 to 4 kg pack | Stairs 20 to 25 minutes twice a week; strength twice | 2 to 3 hours with pack |
| 7 to 9 | Three walks of 75 to 90 minutes with a 5 to 6 kg pack | Stairs 30 minutes twice a week; strength twice | 3 to 4 hours, steep if possible |
| 10 to 11 | Two walks plus a back-to-back weekend | Stairs 30 to 40 minutes; light strength | Saturday 4 to 5 hours, Sunday 3 to 4 hours, full kit |
| 12 | Short easy walks only | Light stretching | Rest, pack and sleep |
Adapt as needed. If you have more time, start earlier. If you are short on time, prioritise the weekly long walk and the stair sessions.
Stairs and descents
The stone staircases on Himalayan routes are the main challenge for many beginners: wide, uneven slabs, not neat treads. Train for them with stair climbing in a building, a stadium or a steep hill, with your pack on and your boots on. Aim for 20 to 40 minutes of continuous climbing, steady rather than fast.
Descents are as important as climbs. Going downhill for an hour loads your quads and knees in a way that flat walking does not, and many trekkers find the descent on day two or three of a trek harder than the climb. Include downhill walking in your training, walk the descent slowly with bent knees, and consider trekking poles to take weight off your joints. Practise with poles before you go so that using them is natural.
Building pack weight
Your trek daypack will weigh about 5 to 8 kg with water, layers, camera and valuables. Start training at 2 to 3 kg and add weight gradually over weeks, using water bottles or books. Do not jump to 8 kg in week two. Carry the pack on your hips with the straps adjusted so the weight sits on your hips, not your shoulders. By the long weekend walks in weeks 10 and 11, carry the weight and wear the clothing you will use, including the boots and socks you plan to wear.
Strength and balance
Two short strength sessions a week, of 20 to 30 minutes, are enough. Include:
- Squats and lunges for thighs and glutes.
- Step-ups onto a bench or the second stair, with and without a pack.
- Calf raises to protect your Achilles tendons on long climbs.
- Planks and core work for stability under a pack.
- Single-leg balance to help with uneven steps and rocky ground.
None of this needs equipment. Do the exercises slowly and with good form. If you have a sore knee or ankle, back off and see a physio rather than pushing through.
Boots, socks and feet
Wear your boots on every long walk from week four. Test your socks, your insoles and your lacing. Treat hot spots early with plasters or tape, and trim your toenails before you leave. A blister on day two can ruin a trek, and the weeks of training are the time to find out what works. Rent bulky items such as a down jacket and sleeping bag in Kathmandu or Pokhara, but not boots. Our gear guide lists the minimum kit.
What training cannot do
Altitude is not a fitness test. The CDC states that physical fitness does not protect against altitude illness, and Wilderness Medical Society guidance identifies gradual ascent as the main protection. Altitude masks and tents are not a substitute for a slow ascent with rest days. A fit person who ignores symptoms is in more danger than a modest walker who descends. Above 3,000 m, the CDC suggests raising your sleeping altitude by no more than about 500 m a night, with an extra night for every 1,000 m gained. Read our altitude sickness basics and acclimatisation schedule.
If you have a heart, lung or blood condition, are over 60, are pregnant or take regular medication, speak to a doctor with travel-medicine experience about altitude. NHS Fit for Travel's page for Nepal covers general health advice for travellers. Our guide on how fit you need to be sets out the standard in more detail.
Practical tips for staying on track
- Schedule training like appointments, and use weekends for long walks.
- Train in all weather; Nepal does not wait for sunshine.
- Vary the route to keep it interesting and to find hills.
- Walk with a friend or a partner, which makes the long days easier. Our partner guide shows how to find someone who wants to train and trek.
- Keep a simple log of days, distance and how you felt.
- Eat and drink as you will on the trail, with snacks and water on long walks.
- Take one rest day a week and listen to pain.
If you miss a week, or fall behind
Plans slip. If you miss a week through illness or work, do not try to double up; pick the schedule up where you left it, or repeat the previous week. If you miss two or more weeks, drop back a stage and shorten the plan's final build phase rather than cramming. If you are injured, see a professional, and consider a gentler route or a later date rather than training through pain. The long weekend walk and the stair sessions are the two items to protect above all, because they most resemble the trek itself, and a plain, steady month of those is worth more than a perfect plan abandoned in week five.
The last week
Taper. In the last week, do short easy walks of 30 to 45 minutes, check your gear, pack your bag and weigh it, and sleep well. Do not try a new route, a hard session or new equipment. Eat normally and drink well. Photograph your passport and insurance details, confirm your permits and share your itinerary with someone at home.
Choosing a route to match your training
If you have only done a few weeks of training, choose a shorter route, such as the four-day Poon Hill trek or the three-day Australian Camp trek, covered in our short treks from Pokhara. If you have followed the whole plan, Annapurna Base Camp and the Langtang Valley are reasonable first-trek choices, and with extra preparation and spare days, Everest Base Camp is possible. The first-time trekking guide pulls the planning together, and the first-timers hub covers the rest. To find someone to train and trek with, see the Annapurna Base Camp partner page.