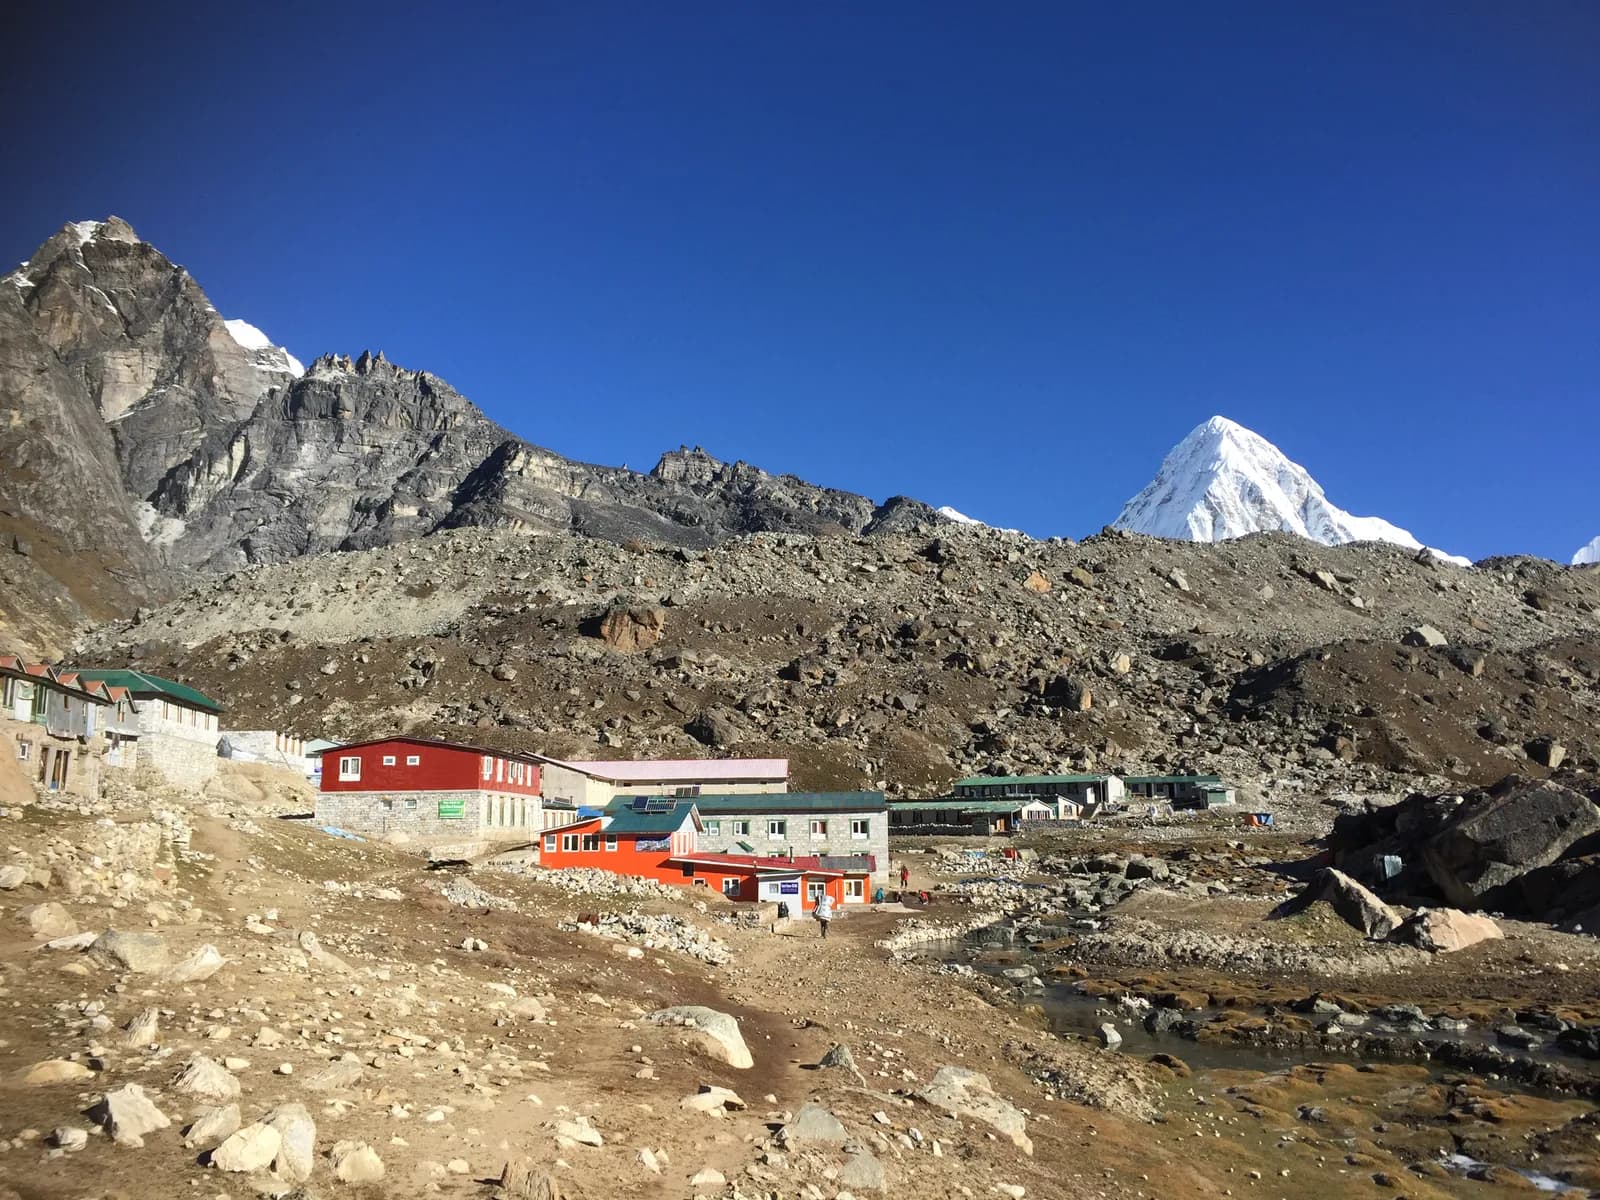

Layering System for Himalayan Trekking
How to dress for a Nepal trek in layers: base, mid, insulation and shell, how many of each, how to adjust through a day that runs from warm climbs to freezing dawns, and what to add by altitude.
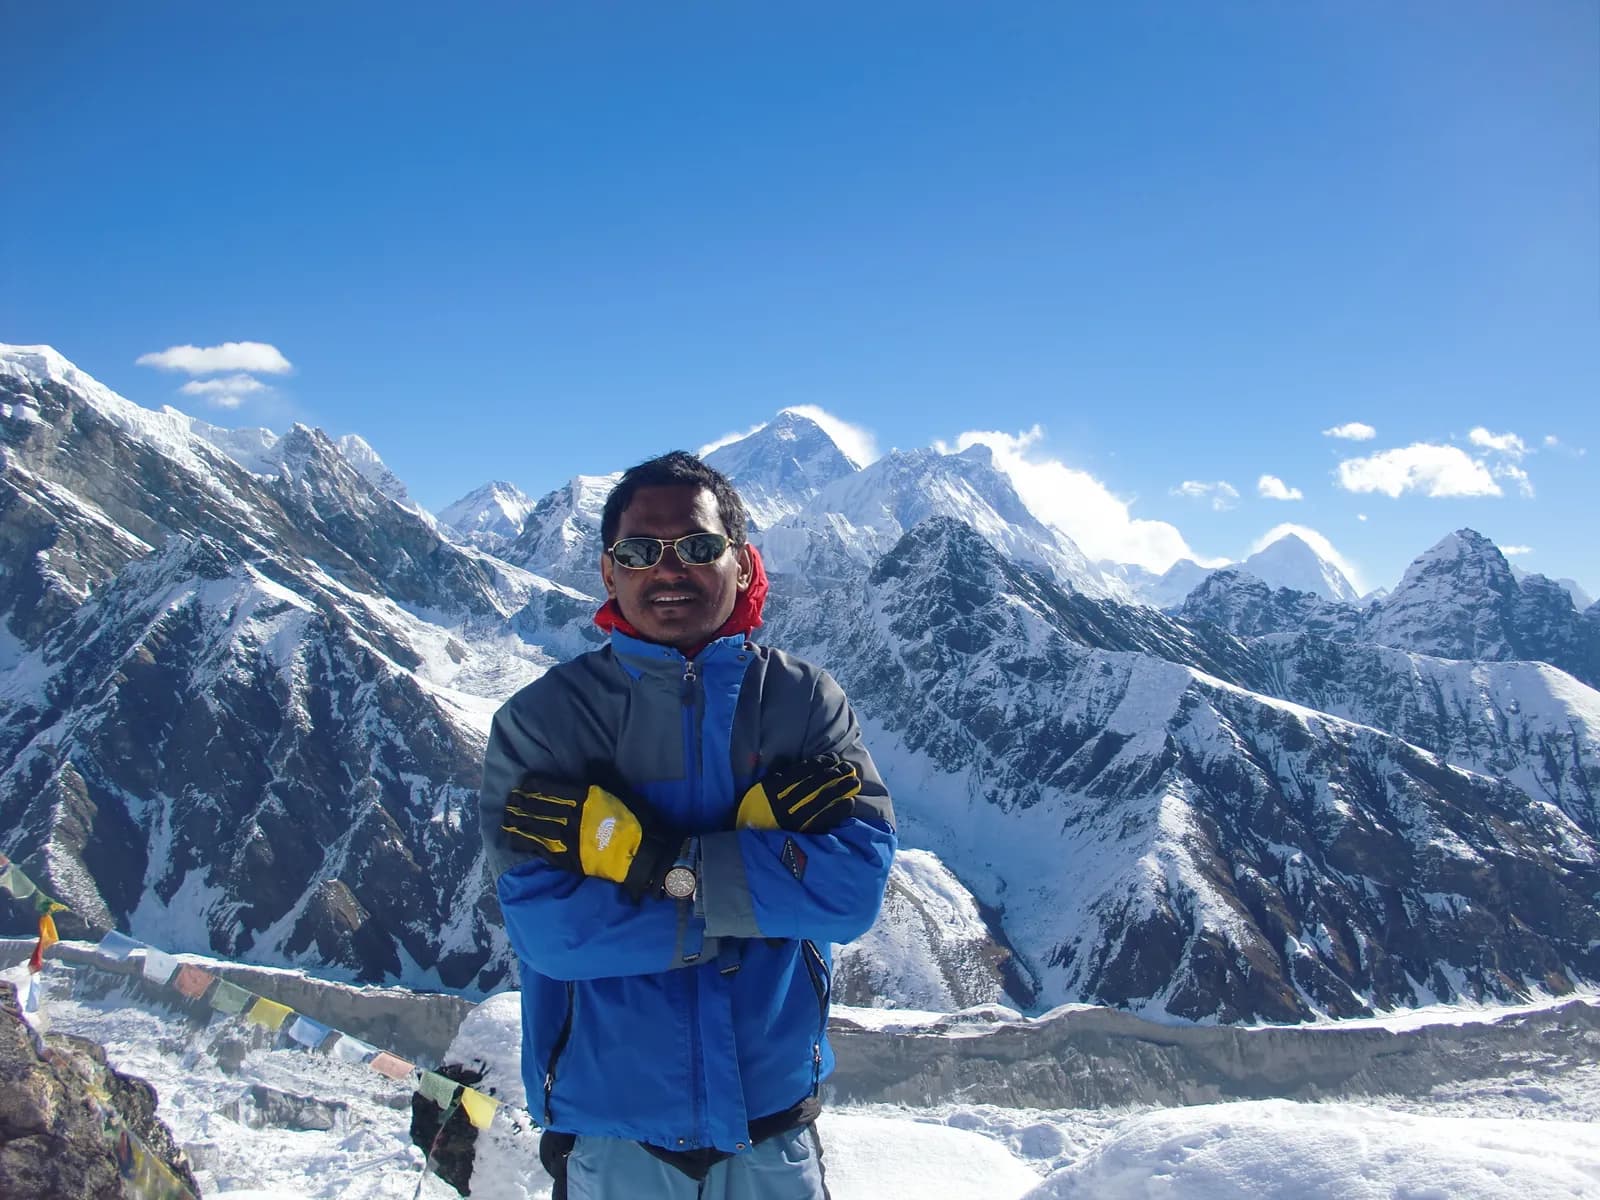
Dress in four layers that you add and remove through the day: a wicking base layer, a fleece or light insulated mid layer, an insulating down or synthetic jacket for stops and evenings, and a waterproof, windproof shell, and adjust them so you never sweat heavily while climbing or stand still cold. The principle is simple: heat while moving, insulate while stopped, and keep wind and water off. A Himalayan day can run from warm sunny climbs to freezing dawns and evenings, and one thick garment cannot handle it.
This guide explains each layer, how to add by altitude, how to manage a typical day on the Everest Base Camp or Annapurna Circuit trail, and what to avoid. It builds on the clothing section of the Nepal trek packing list. The hub is the gear and packing category.
ทริปที่เปิดรับใน Everest Base Camp Trek
ทริปจริงที่นักเทรคโพสต์เพื่อหาเพื่อนร่วมทาง
At a glance
| Layer | Job | Typical items |
|---|---|---|
| Base | Wicks sweat, sits next to skin | Merino or synthetic top and bottom; not cotton |
| Mid | Holds warmth while you move | Fleece or light insulated jumper |
| Insulation | Warmth when you stop | Down or synthetic jacket, ideally with a hood |
| Shell | Blocks wind and rain | Waterproof, windproof jacket; waterproof trousers for monsoon or snow |
| Extremities | Hands, head, neck, feet | Hat, sun hat, gloves, mittens, buff, warm socks |
Why layers work
Wikipedia describes layered clothing as wearing multiple garments on top of each other for warmth, and the point is flexibility: each layer traps air, and you can change the total by taking one off or putting one on. On a trek that matters because your heat output changes constantly: a steep climb in the sun makes you sweat, a stop on a ridge in wind chills you in minutes, and an evening in an unheated lodge room demands everything you carry.
The enemy is sweat. Moisture in your clothes steals heat when you stop, which is why you remove a layer before you get hot rather than after. A good habit is to start the day slightly cool, because you warm up quickly once you start climbing.
The base layer
The base layer sits next to the skin and moves sweat away. Our packing list says two tops and one bottom in merino or synthetic, not cotton. Cotton holds moisture and dries slowly, so it chills you when you stop. Merino resists odour over many days; synthetics dry faster. Bring two tops so that one can dry while you wear the other, and a bottom for cold mornings and for sleeping. Keep one clean, dry set for the evening, because changing into it when you arrive is the best way to avoid a chill.
The mid layer
A fleece or light insulated jumper holds warmth while you move and under the jacket in the evening. It should be breathable enough to wear while walking on cold mornings. Many trekkers wear base plus mid for most of the day in the cold and only add the jacket at stops. A zip front lets you vent.
The insulating jacket
The insulating jacket is the layer for stops, evenings and cold starts. Wikipedia describes a down jacket as a quilted jacket insulated with duck or goose feathers, with air pockets that retain warm air; synthetic insulation does the same and keeps more warmth when damp. A hood adds a lot. Put it on as soon as you stop, before you cool, and take it off before you start climbing again. On pass days and at dawn on Kala Patthar it stays on.
Rent or buy? Our packing list says to rent a down jacket, sleeping bag and poles in Thamel or Lakeside if you trek once, to check the condition and zips, and warns that counterfeit branded gear is common, so judge a jacket by its warmth and construction, not the logo. See down jacket: rent or buy in Kathmandu.
The shell
A waterproof, windproof jacket stops wind chill and rain and goes over everything. It should have a hood, vents and room to fit over the insulating layer. Waterproof trousers are needed for the monsoon and for snow; see rain protection and gear for monsoon treks. The shell also cuts wind on exposed ridges, which is often the cause of feeling cold more than the thermometer.
Hands, head, neck and feet
Most heat leaves through the extremities, and these are the first to feel the cold. Our packing list recommends a warm hat, a sun hat, thin gloves and warm mittens for high passes, a buff or neck gaiter for dust and wind, three pairs of walking socks and a warm pair for sleeping. A balaclava or spare gloves and hand warmers are added above 5,000 m. Keep a spare pair of gloves, because a lost glove on a pass is a problem. Footwear is covered in boots versus trail runners.
What to add by altitude
Our packing list gives this progression, which fits the way routes climb.
| Highest night | Add |
|---|---|
| Below 3,000 m (Poon Hill) | Base layers, a fleece, a rain shell, light gloves |
| 3,000 to 4,000 m (Langtang, Mardi Himal) | Warm hat, insulated jacket, warmer sleeping layer |
| 4,000 to 5,000 m (Everest Base Camp, Annapurna Circuit) | Down jacket, warm sleeping bag, mittens, goggles |
| Above 5,000 m (passes, Kala Patthar) | Everything above, plus a balaclava or buff, spare gloves and hand warmers |
Poon Hill's highest sleeping point is Ghorepani at 2,860 m, so its list is the lightest; Everest Base Camp reaches Gorak Shep at 5,164 m and Kala Patthar at about 5,545 m, so its list is the heaviest. See the Poon Hill itinerary and Everest Base Camp itinerary.
A day on the trail
Here is how it works on a high day, for example the climb from Dingboche (4,410 m) to Lobuche (4,940 m) on the Base Camp trail.
- Dawn in the lodge: base, mid and insulating jacket, hat, gloves. Breakfast.
- First hour: start with the jacket on, then take it off soon after you start climbing, before you sweat. Stow it in the daypack.
- Climbing: base and mid, shell in the pack. Open the zips to vent.
- A stop on a ridge: put the jacket on immediately, add the shell if windy.
- Afternoon cloud: add the mid layer back as the sun goes.
- Arrival: change into dry base and mid layers, put the jacket on and get into the dining room.
Keep the layers you will need during the day in the daypack, not the porter's duffel; see backpack size, daypack and duffel for porters.
Common mistakes
- Cotton next to the skin. It stays wet and cold.
- Wearing the down jacket while climbing. You sweat into it and then chill.
- One thick layer instead of several thin ones. You cannot adjust.
- Waiting until you are cold to add a layer. Add at stops, before you chill.
- Packing everything in the duffel. If the porter is behind you, your jacket is not with you.
- Cheap, wet gloves. Cold hands make everything harder.
Altitude, warmth and health
Layers keep you warm and dry; they do not affect acclimatisation. The NHS advises that if you have symptoms of altitude sickness you rest at the same altitude and go down if they worsen, and that above 3,000 m you should not sleep more than 500 m higher than the night before. Cold and exhaustion can make symptoms feel worse, and a warm, dry trekker copes better, but warmth is not a cure; read altitude sickness basics. On cold days keep eating and drinking, because it fuels your heat.
Permits and rules
Clothing does not affect permits. In Sagarmatha National Park, the entry permit and the Khumbu trek card are NPR 3,000 each as of October 2026, and the ACAP permit is NPR 3,000. A licensed guide through a registered agency is required in restricted areas (Department of Immigration) and, under the Nepal Tourism Board rule of April 2023, in national parks and conservation areas, where 2026 operator reports say checkpoints enforce it in Annapurna and Langtang but not in Khumbu (checked 19 October 2026). See /guide-rule-nepal.
Sharing and renting
If you are walking with a partner, compare kits before you buy: one set of spare gloves and a shared repair kit are useful. Rent the bulkiest items, such as the down jacket and sleeping bag, in Kathmandu or Pokhara. See how to find a trekking partner in Nepal safely, the Everest Base Camp partner page, and the sleeping bag temperature ratings guide for the other half of staying warm.