

Trekking Poles in Nepal: Do You Need Them?
Do you need trekking poles in Nepal? What they do for knees and balance, where they help most (stone steps, long descents, snow), where they get in the way, how to use and rent them, and how to share the trail with mules and yaks.
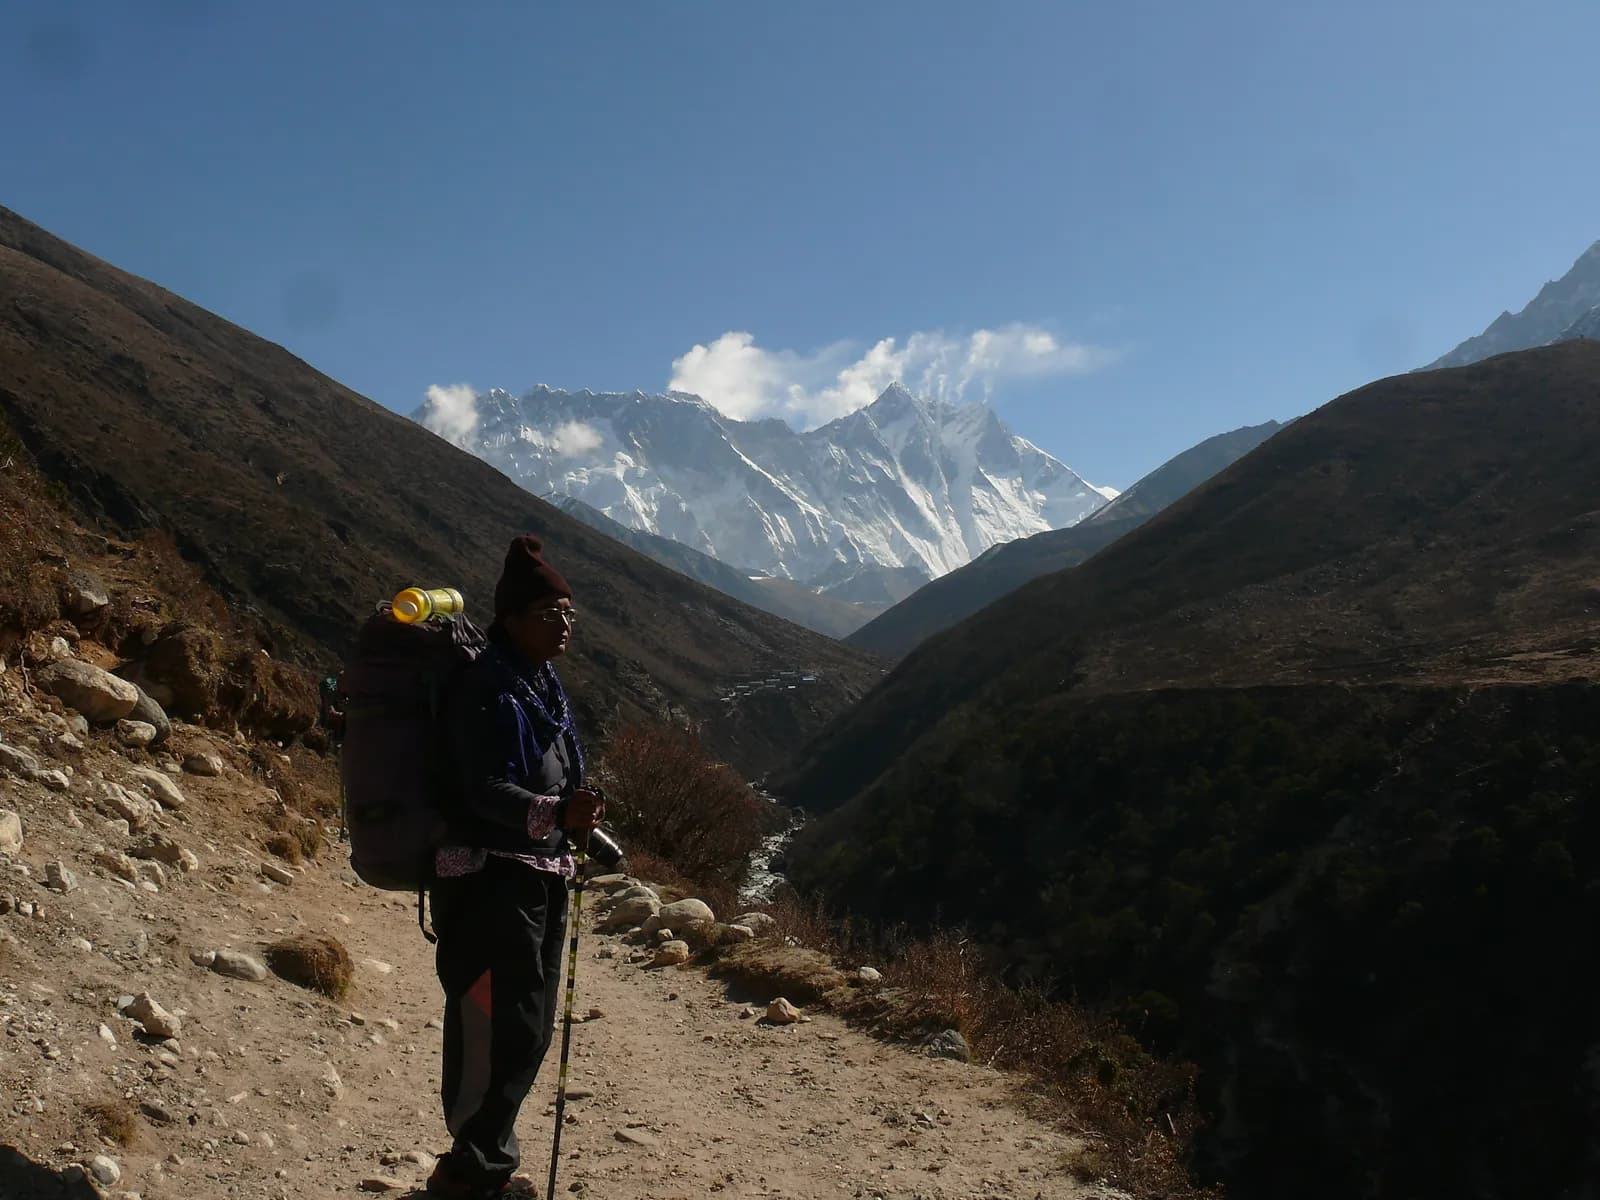
Poles are not essential for a short, low Nepal trek, but most people on routes with long stone staircases and descents, such as Annapurna Base Camp and Everest Base Camp, find a pair worth carrying: Wikipedia says poles help with rhythm and stability and reduce strain on joints on rough terrain, and our packing list recommends them for knees on descents. The cheap way to try them is to rent a pair in Kathmandu or Pokhara. The rest of this guide covers where they help, where they do not, how to use them and how to behave on trails shared with animals.
The related gear pages are boots versus trail runners and the general Nepal trek packing list. The hub is the gear and packing category.
سفرهای باز Annapurna Base Camp Trek
سفرهای واقعی که ترکرهای جویای همراه ثبت کردهاند.
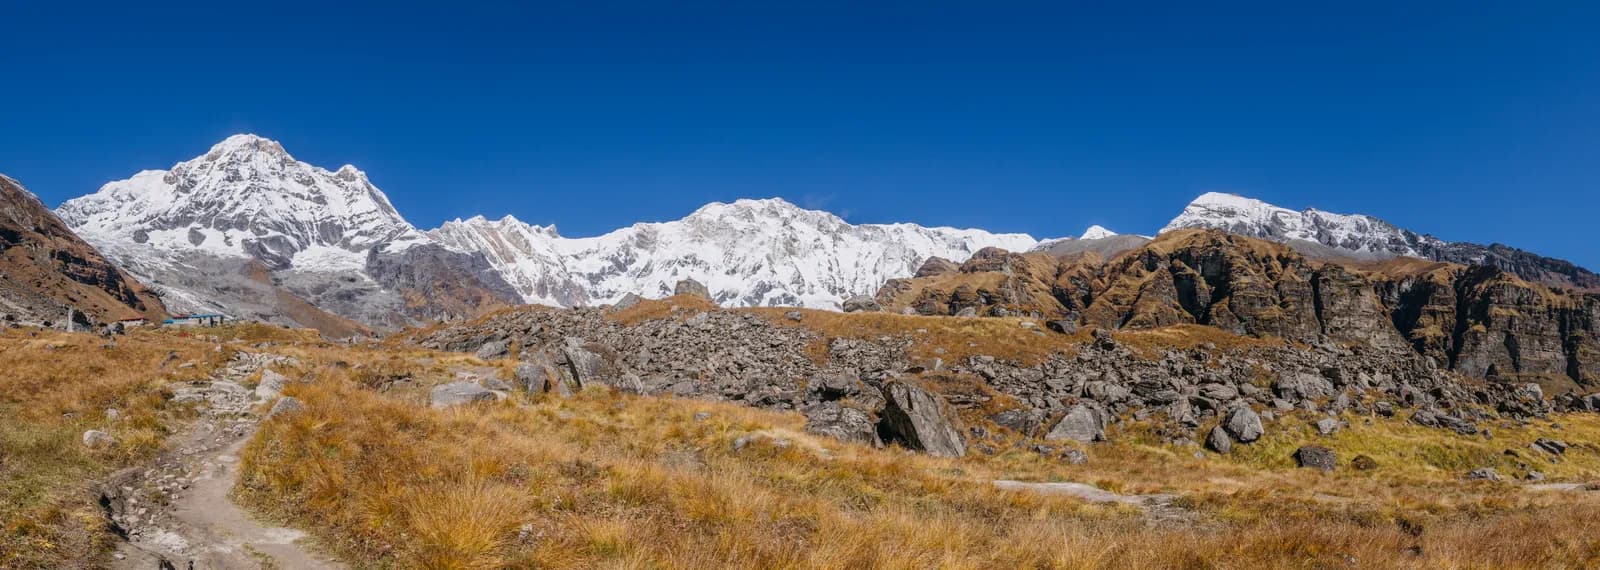
What poles do
A pair of poles lets your arms share work with your legs, and gives you two more points of contact with the ground. That helps in three ways. They improve rhythm and stability on uneven ground, they spread load off the knees and ankles on descents, and they give you something to push against on steep climbs. Wikipedia sums these up as assisting rhythm, providing stability and reducing strain on joints on rough terrain.
They do not make you stronger or fitter, they do not prevent altitude illness, and a badly adjusted pole can be worse than none. They are a tool for specific places.
Where they help in Nepal
Nepal's trails are made of stone, and that is where poles earn their place.
| Where | Why poles help |
|---|---|
| Stone steps such as the Ulleri staircase on Poon Hill | Thousands of steps; poles share the load on knees |
| Long descents such as Annapurna Base Camp day 5 (6 to 7 hours) and the Namche to Lukla return | Knees take the beating going down |
| Snow patches and scree on pass days | Extra balance on loose or slippery ground |
| Stream crossings and wet sections | A third and fourth point of contact |
| Tired legs late in a long day | A way to keep rhythm |
The Annapurna Base Camp plan has 6 to 7 hour days on the way down from Annapurna Base Camp to Bamboo and 5 hours to Jhinu Danda, and the Everest Base Camp return runs from Gorak Shep down through Pheriche and Namche to Lukla over about three days. These descents are where knees complain. Our packing list says poles are for knees on descents, and that is where to expect the benefit.
Where they are less useful
On a short, low, easy walk, such as the Ghandruk village trek or a Kathmandu Valley hike, poles add weight and fuss without much benefit. They can also get in the way on scrambles where you need both hands, on narrow suspension bridges crowded with people and mules, and in thick forest where they catch on branches. Many trekkers carry the poles on the pack for bridges and scrambles and use them for steps and descents. If you have a knee problem, poles are a good idea; talk to a doctor before a long trek.
Choosing poles
A few features matter more than brand.
- Adjustable length with reliable locks. Telescopic poles let you shorten for uphill and lengthen for downhill. Test the locks, because a failing lock is dangerous on a descent.
- Grips that suit your hands, with a strap you can use properly.
- Tips in good condition. Rubber tip protectors help on stone and in lodges.
- Weight and packability. Poles that collapse small fit on a daypack or duffel; the photo of retracted poles on this page shows how short they can get.
- Baskets for snow; most trekking poles have them.
Do not spend money for a one-off trek. Our packing list says to rent poles in Kathmandu or Pokhara if you trek once, and check the condition: test every lock and look at the tips before you leave the shop. If you walk with poles at home, bring your own, because the fit and grips are already right.
How to use them
Set the length so your elbow is bent at roughly a right angle when the tip is on the ground on level ground, then shorten them a bit going uphill and lengthen them going downhill. Use the straps by putting your hand up through the loop from below and gripping the pole and strap together, which lets you push down through the strap rather than squeezing the grip. Plant the pole slightly ahead and opposite the leading foot, as in a natural walking rhythm. On steep stone steps, plant them on the step above or below as it suits, and on snow use the baskets.
Practise on a hill at home before the trek. People who never used poles are clumsy with them on day 1, and a trek is not the place to learn.
Trail etiquette with poles
Nepal's trails are shared with porters, mules, yaks and local people, and some paths are narrow with drops. Keep your poles tight and close to your body when passing, do not swing them, and give way to loaded animals by stepping to the uphill side where you can, away from the edge. Avoid planting poles on prayer walls and mani stones, and do not use them on holy sites; see Nepal trail etiquette and culture and monastery etiquette. Protect the trail by using rubber tips on stone and in lodges, where hard tips damage floors.
Poles and altitude
Poles do not change altitude effects. They can reduce effort and save leg energy, which helps you arrive less tired, but acclimatisation still follows the rules. The NHS advises that above 3,000 m you should not sleep more than 500 m higher than the night before, and should take a rest day every three to four days. Do not let a tool tempt you into pushing faster than your body adapts; see altitude sickness basics and the acclimatisation schedule.
Permits and the guide rule
Poles do not affect permits. The ACAP entry permit is NPR 3,000 for foreigners as of October 2026, and in the Annapurna Conservation Area a licensed guide through a registered agency is required under the Nepal Tourism Board rule of April 2023, which 2026 operator reports say checkpoints enforce in Annapurna and Langtang but not in Khumbu (checked 19 October 2026). In restricted areas the guide is part of the permit, as the Department of Immigration restated in June 2026. See /guide-rule-nepal.
Which should you choose?
- Four-day, low trek, strong knees: optional; rent for the first day and decide.
- Annapurna or Everest base camp trek: take a pair, rented or your own.
- Pass days with snow or scree: yes, with good locks and baskets.
- Knee, hip or balance problems: yes, and speak to a doctor first.
- Photography or two hands needed often: poles that fold small and clip to the pack.
Care, packing and travel
Poles are simple but they need a little care. Rinse and dry them after a wet or muddy trek, loosen the locks when you store them so they do not seize, and replace worn tips and baskets before you leave. Collapse them fully when you pack them and tie them to the outside of the daypack or the duffel so they do not poke anyone. If you are flying to Lukla or elsewhere, check the airline's rules on poles in cabin baggage, because pointed items may need to go in the hold, and remember that the Lukla flight has a tight baggage allowance. A pair of rented poles in Kathmandu saves you the problem altogether.
Sharing gear and finding partners
On a trek with a partner you can compare notes on what works, and a shared first aid kit can cover blisters and strains. If you are looking for a partner, see how to find a trekking partner in Nepal safely and the Annapurna Base Camp partner page. For more gear guides, see the gear and packing category.


